Olympus OM D E-M 1 Mk II review - or how can you win, when everyone else thinks that you have lost…

Note: All photos presented in the following review have been shoot in RAW format and were converted to TIFF/JPEG using PhaseOne - Capture 1 software. Because my default settings are all on Neutral and therefore both the colors and the contrast will be a bit faded compared to what our eyes will perceive, I had to edit the photos to add some contrast and saturation to be able to reflect the real colors. This was not the case for all photos that are presented below, as for some of them I did not had to adjust anything once the RAW was converted to TIFF/JPEG. Whoever has any issues with this can consider it it’s own problem. I will add as part of an archive full size photos as well as the RAW files, thus making everyone happy. By the way: reading this review is not a mandatory thing!
I shall start writing this review, by trying to express the feelings that I’ve had the moment when I have decided to challenge my fate by renouncing the honorary title of Nikon Ambassador, only to throw myself ahead in a turbulent sea full of unknowns. Just several months before this I was full of ignorance while making fun and laughing every time I was hearing about mirrorless systems with disregards to any producer. Truth being told, the new lens produced by Fuji caught my attention, but their cameras had big problems when it come to battery life, which for me is a really important part of my work.
In my case, even if I were to carry a bag full of charged batteries will not work, as I am usually out for weeks shooting in lots of places where I simply cannot get any electricity.
Out of my own ignorance, I missed the fact that the producers are trying to bring functions to those systems that simply are not yet incorporated in any DSLR systems. Somehow, I kinda missed this part of the technical evolution, as I was really surprised when I got my hands on this new system, that was offering in the same time decent battery life, while bringing a full range of lenses. I do have to say it’s never late to admit that you were once wrong ...
Only five days after I had publicly announced that I would end my collaboration with Nikon, renouncing my title as Ambassador, while looking to find a new system, a mirrorless one this time, something that could challenge my whole carrier, out of the blue I got a fully equipped Olympus system.
To be honest, I would not give too many chances to the new system. My conservatory thinking would not allow me to conceive that a small sensor can be better than a big sensor.
Well, here we go ... I will do my best to present everything that I have discovered so far regarding small sensors. While searching through lots of articles and documents online, I could only find limited information that was either created in a very shallow and simple way or was only covering a certain segment of photography, a segment where the author was specialized in. I have started to study this system, that is currently being used by two camera manufacturers (Olympus and Panasonic); all this while trying to read as many documents or documents for patents that I could get. On top of this I added lots of hours of shooting with the system, as only after 2 or 3 months I had realized that the shutter was indicating over 100.000 shots while using the following lenses:
⦁ Olympus 8 mm fisheye
⦁ Olympus 7-14mm f/2.8 PRO
⦁ Olympus 12-40mm f/2.8 PRO
⦁ Olympus 40-150mm f/2.8 PRO
⦁ Olympus 25mm f/1.2 PRO
⦁ Olympus 75mm f/1.8
⦁ Olympus 12-100mm f/4 PRO
⦁ Olympus 300mm f/4 PRO
⦁ Olympus 30mm f/3.5 macro
⦁ Olympus 60mm f/2.8 macro
While using the same approach I had used for years while testing any Nikon gear, I believe I managed to test the system enough and to have enough photos in order to reach a conclusion. My methods of testing consist in challenging the system to capture photos in different weather conditions, from frost and snow in the mountains to deserts or hot dusty environments in that can be found in the Canary Islands volcanoes. While trying not to compare this system with my previous one, I could not constrain myself, as I was really curious to see what was the downside of switching to a smaller sensor system. I was nicely surprised to find out that in fact I was gaining more and not loosing anything. Allow me to show you what I have gained so far ...

The first thing that I have noticed was the amazing stabilization that the system was using. This was really great.
While shooting in strong winds situation, where winds so strong that would literarily knock out your tripod and camera, I could shoot while handholding the camera. Just bellow you can see example of photos takes with 2, 3 or 4 seconds exposure time while handholding the camera. This photo was shot at Roque Nublo, just after sunset while enduring strong winds. Of course, there is no need to mention that a tripod in this condition would be less than useless.

While holding the camera in my hands I managed to take the following shots; it would have been completely useless to mount the camera on tripod due to strong winds and the waves that were hitting the rocks, thus making it impossible to have a steady shot. That’s the reason I have chosen to shot while hand holding the camera. I have used the 12-40 mm f/2.8 PRO lens with ND1000 filter mounted on it.

Due to either lack of space or time, I could not use a tripod in the following shots therefore I had to take the shots while hand holding the camera.


I can achieve this not because the camera embodies a small size sensor, but due to an excellent technology that was integrated by manufacturer, called IBIS. On the other side, while using the physical reality, the next function works perfect with the small sensor embedded here.
It is a known fact that in macro photography, but also in portrait photography, using a aperture of f/ 1.8 and small distances that would allow for a better framing, there can be issues regarding the focus area, the so called DOF. Doesn’t matter if you use a cropped sensor or a full frame sensor, it is well known that while shooting macro / close up with an aperture of f/8, your subject in this case will not be fully in focus; the focus area will be quite small. In this case I can see two options: either I will close down the aperture or I will use focus stacking.
By using the first option, I would have to raise the ISO value, therefore losing the dynamic range and the details. The second option would be to use focus stacking, so in this case I would only be able to shoot dead bugs, only using a tripod while taking between 10-30 minutes per frame.
The Focus stacking function was implemented by Olympus directly in their cameras software, taking advantage of the reduced sensor size given a greater depth of field (DOF) without being forced to close down the aperture while increasing ISO and loosing dynamic range (DR). This will allow me to shoot any small subject while combining big DOF with large open apertures, without being affected by any light diffraction thus extending the DOF by Focus Stacking.
I could shoot live subjects which either were slowly moving or were moved by the wind breeze while using Focus stacking; this way I was getting perfect photos in 6 out of 10 shots. The camera takes a succession of shots, with a range from 2 up to 199 frames, moving the focus point after each shot; each shot takes under one second and due to the sensor stabilization all images are aligned. Next step will allow us to chose the way we want to do edit the final image using focus stacking; here we have two options: one would be to simply save all files used to do focus stacking and to edit them using Adobe Photoshop or other dedicate software on a computer. This way we can use up to 199 raw files to do the final stacking. The second option would be to allow the camera to do the stacking using its own internal software. It would take around 15 to 20 seconds for the final shot to be composed and saved. However, in this case only 9 frames will be used for the final composition. The raw files will also be saved on memory card so that we will have the possibility to edit them at a later time. As a personal option, I prefer to use the photos stacked in camera as I have noticed really good results. Next you can see some shots taken with Focus stacking function turned on and off.


Here we have some shots using Focus Stacking


Here we have some shots without Focus stacking


Last I would like to share with you this shot that would have been impossible to do with classic DSLR camera using focus stacking. First of all the bug was alive, slowly moving in the breeze of the wind and it hold the position for about 3-4 second after which it flew away. Now, with a classical DSLR camera that would mean that I would have to mount the tripod and it would take around 15 minutes to focus and adjust camera settings in order to take the 9 shots required for the focus stacking; using the Focus stacking option embedded in the camera and taking advantage of the system stabilization, I was able to shot this while hand holding the camera. This camera system is offering us tools and options to take this kind of almost impossible shots, shots that I would have not been able to take using classical DSLR camera system.

However, if you want to use Focus stacking function that will process in camera the shot without using a computer, can work with only a limited number of lenses. Those lenses contain in their internal processor, a table with the algorithm for modifying the focus plane, so that the camera does not lose processing power while exposing multiple times. The camera will recognize the lens and use the focusing scheme specific to each lens. Unfortunately one of the lenses that I would really appreciate the Focus stacking option with is not in the list of recognized lenses for Focus Stacking. I am referring to Olympus 25 mm f/1.2 lens and I would like to show you where I would like to use this function at.

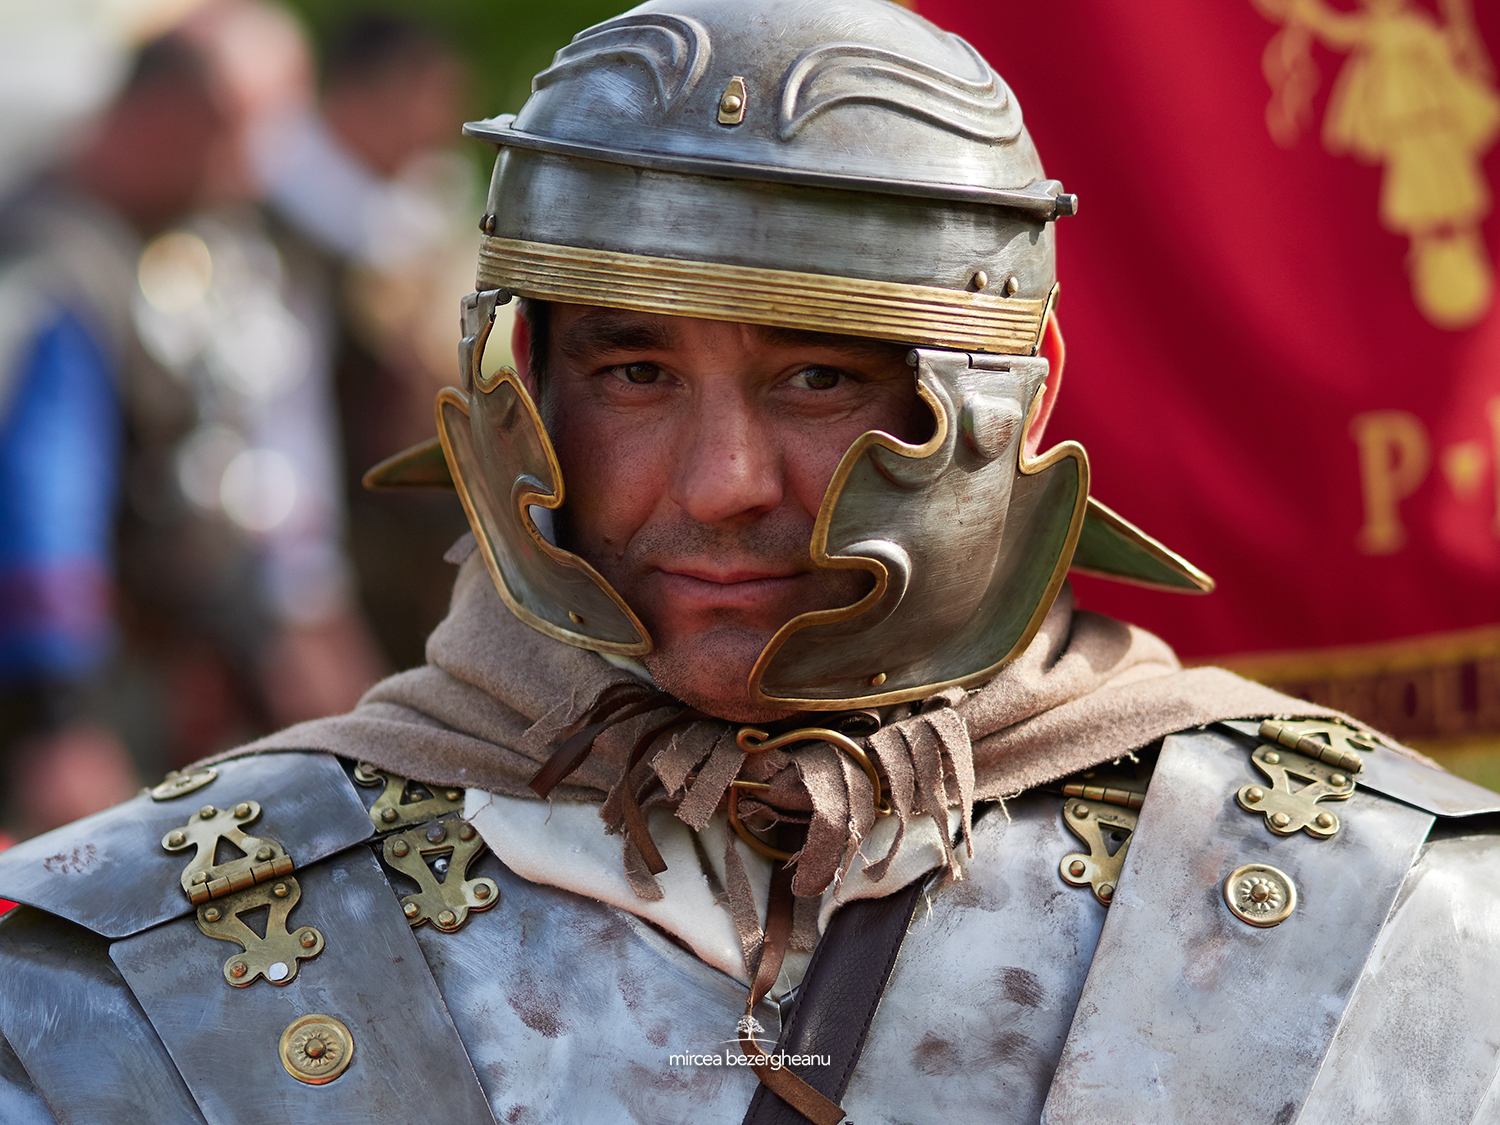
Using Focus Stacking I can now shoot this portrait in half profile while the aperture will be fully open; it is that simple and efficient. Using this I can explain one of the mistakes I used to make before I got to work with the micro 4/3 systems from Olympus, a misunderstanding that Full Frame users do quite often. I was truly convinced that I could not shot portraits having small DOF, which would give a nicely blurred background. As seen in theory and as it should be, small sensor will produce big DOF. But only now I can see, that the DOF isn’t that big as I used to think and this would solve the big problem that I used to encounter while shooting on Full Frame camera portraits using fully open aperture. It is extremely hard to have both eyes in focus and even the slightest move of the head will loose the focus from one eye and this in the case I will use an aperture of 1.4; if I will be using a Canon lens with an aperture of 1.2, then the whole photo will be compromised as the DOF will only be around 3-4 mm. Hence the reason of closing down the aperture to 2.2 or even 2.8-3.5 when I was shooting this kind of portraits, even though I was using a sense with an aperture of 1.4 or even 1.2. The laws of physics would not allow any other approach on this matter. On the other side, using micro 4/3 systems, I can shot even at an aperture of 1.2 at the minimal distance of focus using the Focus stacking. This will allow me to be more creative without constraining my composition.
The following lenses will support Focus stacking direct in camera:
⦁ Olympus 12-40mm f/2.8 PRO
⦁ Olympus 40-150mm f/2.8 PRO
⦁ Olympus 300mm f/4 PRO
⦁ Olympus 30mm f/3.5 macro
⦁ Olympus 60mm f/2.8 macro


I can only tell you how impressed I was by having larger DOF for both portraits and macro shots while using large aperture and low ISO setting even when the lightning conditions were quite low for photography. I am used to shoot portraits in any conditions, including low light, especially after sunset, without using flashes.


This is also the case when I shoot wild life: if I have a subject in a forest and I want to get close-up, I realize that I am already using an ISO of 1600 and that the DOF is too small on full frame system; this will force me to close down the aperture by 1 or 2 stops getting to ISO 3200 or even 6400.
You can see bellow two shots taken with D800 and D5 using 600mm f/4 and 300 mm f/4; as it can be seen I did not had enough DOF in order to have the full head in focus while shooting at f/7.1; my DOF was only couple of millimeters.


Let me present to you some shots takes with the Olympus system at ISO 1600 and at a focal length equivalent of 300 mm for Full Frame at f/2.8. If I were to take this shot using Full Frame system, I would have had to use ISO of 6400 in order to be able to capture this. This would have not been a big problem if I were to shoot with a D5 camera; but that is an expensive system and not everyone can afford that.


Bellow you can see some photos taken with the Olympus system at different ISO values ranging from 200 to 5000; I’ll let you be the judge for this.
ISO 1250


ISO 1600


Iso 200


Iso 640


Iso 5000


If we are on the topic of ISO, I will post below some shots taken during the night where I used ISO in the range between 3200 and 6400. I was a bit scared that I might encounter some issues here but once I saw the first shots I was very happy with the results. Should I also mention that I could use a fisheye lens with an aperture of 1.8 that no other producer has? Allow me to explain this in a very practical way comparing the system with a Nikon D810.
Using the Nikon system I can shoot the galaxy by using a fisheye lens with an aperture of 2.8; however I am forced to close down the aperture at f/4 since the lens is quite soft at f/2.8 especially around the edges.
Using the Olympus system I can use the fisheye at f/1.8 and this way I already win a 2.3 stops at ISO. To be more exact: while using an ISO of 1600 for Olympus system, I would need to be at ISO 6400 for the Nikon system in order to have a similar level of clarity for my shot. On the other side, the fisheye lens from Nikon is using an 25 years of technology and it cannot compete with the quality offered by the Olympus one, even closed down at f/5.6; I recently heard that Nikon released a new model which can capture even less light than the previous one; so nothing for me to loose on this part.
You can see below a shot taken at ISO 6400 using the Olympus system; this was taken on a moonless night, in pitch black using the fisheye lens at f/1.8. Now if I were to take the same shot using a D810 with the new fisheye that has a maximum aperture of f/4 I would have had to use an ISO of 25600 (according to my math). So where exactly is the advantage of Full frame system for me out in the real world? I totally agree that in the studio / lab the Full frame is way better and I cannot deny that. But, I am not shooting in studio/lab.


Oh, and here you have a shot at ISO 6400, while hand holding the camera in a cavern. I have good chroma and DR as I can expect from any high-end professional camera. It was more done out of curiosity to see what the camera can do in those conditions.

For the night shots, but not only, as it can be used for studio shots, we have two special functions embedded in the camera.
First one is called Live Comp and it will allow taking a long exposure up to 3 hours and it will allow us to make light paint or star trails. However, what is more interesting is the fact that it will not make another exposure of 3 hours (or how long we had use for exposure) in order to create the black shot for Long exposure Noise reduction, but it will use a 60 seconds blank shot at the beginning of the exposure and another one at the end of it. This will allow you to reduce the waiting time that was lost in the case of long exposures on the DSLR systems. Based on my tests the battery can hold for approximately 4 hours of maximum exposure; in those conditions a grip would really come in handy as it would double the battery life. You only need to make sure that the first shot has the correct exposure; for the rest of the shots it will just add the light on top of the first frame; you can see on the screen as the star trails are being drawn.


The second function is called Live Time; you can make multiple shots of 60 seconds each; the number of frames is determined by the ISO value; the higher the ISO the lower the number of frames. You can have a minimum of 8 frames at ISO 1600 or up to 24 frames for an ISO of 200. This way we have almost 30 minutes of exposure time, where you can see the light being added to the frame while the noise is being lowered. You can actually see as the screen becomes lighter as more frames are captured while the histogram is being changed the more frames are being exposed and overlaid on top of each other. You have the option to stop the exposure once you consider that you have reached the exposure that you were aiming for. Do I need to mention that this is the only camera that will allow you to see the galaxy and the stars on the screen in live view mode thus allowing you to compose the shot? With most of the cameras I need to make test shots, as the viewfinder will hardly allow you to compose in dark nights.
Bellow you can see a shot taken at ISO 200 in pitch black on a moonless night. For the first time I could see details in the grass and color. A camera with such a small sensor was basically humiliating all the professional cameras out there, only cause their engineers have a better understanding of how light is behaving, implementing in a wonderful way great functions in the camera system. There are also things which I don’t like that much, however I will leave those for the end...

Bellow are some shots taken during the night or immediately after sunset using exposure time of maximum 60 second; and yes, the camera will do 60 seconds exposure time instead of 30 seconds as it is in DSLR systems.


Now I will show you some shots, which will allow you to evaluate the sensor’s capability to reproduce scenes in extreme contrast; this will allow you to appreciate the camera’s DR.


Next shot really surprised me: I was shooting while the moon was at 80% luminosity and I was able to see the galaxy (note that the moon and galaxy were in the same area). I was expecting a different result; what came out completely left me speechless. Allow me to repeat this: night shot, contre-jour, galaxy plus lots of details on the hills in the frame. While not being a very artistic scene, it fully shows the capabilities of this system. For me this was the best test ever to show the capabilities of this system.

Let me to share with you some sunrise scenes, so that you will be able to evaluate the DR.


On the next chapter we will talk about portrait photography.
My belief was that small lenses would have really weak bokeh; again the reality showed me that I was wrong. As it looks like the lenses are made in order to overcome this small issue of the sensor. After many portrait shot in diverse circumstances, I realized that whatever I was loosing due to physical laws, I would be able to compensate through my experience. Well, let’s just wait until the new 1.2 lenses will be release and then let the show begin.
While evaluating my shots for the skin tone reproduction, I have discovered that the engineers from Olympus are using an ingenious method of making their products special; I was wondering how have they managed to reproduce the magic that I have found at the Nikon 105 f/1.4E? Well, they worked at the MTF creating a optical formula that is optimized to reproduce skin tones; as in the big details are reproduced quite sharp while the small details from the skin texture are reproduces a bit softer. The lens is overall very sharp, but a bit softer on the chroma, micro contrast and details of the skin. I was wondering how come the bokeh was so damn good; as I found out, it was pretty sharp, while being filtered through an algorithmic progression extremely well defined that take it from sharp to blur. I have attached after each shot a 100% crop so you can study the details.


You can see the beautiful bokeh in the following shots. All shots were taken in crowded places while having minimum distance between the subject and me. Now I have realized that the bokeh is progressive and optimized (at least that is what I could understand from the documents that made it out on the internet).


Next we will go to landscape photography. Now here I was surprised to find another function implemented by the producer. While using HiRes function, I am able to shoot 80 MP shots as RAW file or 50 MP shots using JPEG. The camera sensor has only 20 MP; however due to sensor shift in 8 different positions, while using high speed I can get 80 MP shot. This is not being done using interpolation. I had noticed that using this function I am gaining about 1.5 stops on the noise level. This function can be used at the maximum ISO of 1600 and the aperture of f/8. Using HiRes function and setting different exposure time for the 8 frames of the same shot you can simulate the usage of an ND filter (however with slight different effect). Bellow you have some shots taken using HiRes function (with or without ND filter).


More landscape this time without using HiRes function


Next step would be to test the camera in the studio. I was amazed by the way it reproduced the fine details. I will describe in another article how you can use Live Comp function in studio using simple sources of light like phone light or simple LED lantern.


Another interesting function is ProCap, which was poorly implemented in some compact cameras, but here has some amazing results. For the first time I was able to capture archers shooting arrow or fire as the bullet was leaving the cannon. How was I able to capture this? Simple: the moment I look through the viewfinder and I press half way the trigger button, the camera will start to shoot, using the electronic shutter, while keeping the shots in the buffer, without the need to write them on the card. The camera will shoot 60 frames per second at full resolution (RAW and JPEG). The camera is using 2 CPUs with 4 cores hence 8 threads of execution. So the camera will capture 60 frames per second and once I fully press the trigger I will start to shoot; but here is the good part... it will record the 14 frames taken before I fully pressed the trigger. So even if I missed something while pressing the trigger, I can still find the shoot in any of the 14 frames taken before.


This function is also very useful for wild life.


The burst can be hold in the buffer for several seconds; when the buffer gets full the burst decreases to 9.5 frames per second and can be kept until the memory card is full. And as I was talking about wildlife, let see how things are in here.


Of course I had to test the autofocus system that the camera was offering.


I have also used the autofocus system to track human subjects to see how it will behave.


Based on my experiments, I have noticed that while the focus system is really great, the management system and the algorithm used for focus leave quite a lot of place for further improvements. While the first impression is that the focus system is extremely sophisticated, it’s implementation is quite rudimentary. I am not happy that I cannot choose one master point of focus while using a group focus points. The camera will decide which focus point to use as initial point of focus, which creates problems for me as for when I want to focus on a small animal that sits on a 45-degree plan from the focus plan. Camera will not understand where is the head, body or tail of the animal / bird and will choose the first point from the group which will have the best contrast and focus on it. For now, at least until things will change, I will have to use single point of focus so that I can focus exactly where I want. With current menu options I only have two options: either use all points for focus or just a small number of them, which will make focusing extremely difficult to keep on a small bird that is flying. One thing that I do not really like in here is the fact that the size of the focus point is a bit too big. In the same time, once I take my shoot, I no longer can see where the focus was (there is nothing to indicate where the camera has focused).
In the end here are some of the things that I do not like so much; things where Olympus might improve in the future, or it may not.
The quality of the viewfinder is not really great. There were times when I just did not want to take a photo as what I was seeing through the viewfinder looked quite poor. Stepping back and looking again at the scene, without using the viewfinder I was surprised to see a wonderful landscape ... well, at least it does not have a delay when I use it for wildlife. I will personally only use it for framing the shot.
The camera start up has quite a delay ... way to long. When I was using Nikon camera, I was able to shoot any subject within seconds since identifying the subject, as my camera was always on. As for now, I cannot really on this anymore.
When it comes to the camera grip, I would personally appreciate a USB connector which would allow for batteries to be recharged (this has been successfully implemented by Sony for their camera grips).
I can say that I really do not like the fact that there is no support for fast TTL studio flashes. The only solution that I could found was the one offered by Profoto, which to be honest is not cheap.
While behaving great when used in manual mode, the flash offered by Olympus, model 900 has quite a big delay when used in TTL mode.
What really impressed me was the battery life. I was able to shoot around 3078 photos with one charged battery, while focusing a model going up and down the dunes, checking the shots, deleting them, and shooting 4k videos. When doing wild life, things can be quite different; you can discharge one battery only waiting with your finger on the trigger to shoot one bird that will fly. In this case it is mandatory to use a camera grip.
Overall, I am quite happy that now I have one professional solution which will allow me to do what I do best: photos; as good and as best as I can do. Camera is just a tool; the only thing that matters in the end is what lies between the viewfinder and the back of your head.
Olympus is now offering a mature and professional system with more than 200 lenses (if we count the third party lens producers) and covers everything from 7mm to 840mm. There are even lenses that have an aperture of 0.95. You can find Voightlander Nokton 10mm f/0.95 for a decent price; I will soon test it against Olympus fisheye lens 8mm f/1,8 (which by the way has an amazing optical quality).
The professional lenses offered have up to 1/2 or 1/3 lower prices that the ones produces and sold by Nikon or Canon while the optical quality is way higher as they will offer 74 l/m over the 45 l/m, which is a standard for Nikon and Canon. This will allow to have higher definition, able to deal with the higher density of pixels, which will create richer details; all those can be seen in the way the texture is reproduced in the objects that are shot with macro lens in this article.
While Olympus will offer free software for RAW file conversion to TIFF or JPEG, I will choose to use PhaseOne. It is better solution for RAW file conversion than Adobe Camera Raw. As it looks, at the moment, Adobe Camera Raw has issues converting ORF files (RAW format from Olympus); the results are extremely poor, as many people have noticed.


This was the best example of what the Olympus can do. Thanks so much for this.
RăspundețiȘtergereIncredeble reviwe!
RăspundețiȘtergerevery impressive. thanks for the write-up and a timely reminder i need to start using the live composite modes a lot more than i have been
RăspundețiȘtergereThanks for your fotos. Amazing work! Some of your shots are really stunning! Michael
RăspundețiȘtergereThanks for your fotos. Amazing work! Some of your shots are really stunning! Michael
RăspundețiȘtergereAmazing article and beautiful pictures. Thank you for taking the time to write this.
RăspundețiȘtergereThanks for such a great review, your photos are stunning. I am going to try capture one to see if it is better than Lightroom on your recommendation. I have been using Lightroom and DXO optics pro 11 to develop my ORFs.
RăspundețiȘtergereReally a good camera real life test review. Thanks.
RăspundețiȘtergereBy the way, GODOX has a TTL Transmiter (X1T-O), monolights (Profoto alike) and flashes supporting Olympus TTL's system. go to godox.com and enjoy...
Focus points - something to understand with phase focus is you have focus areas not points. You can have very small areas but you don't have dedicated focus pixels, it is using the main sensor pixels. Very impressed with the review and with what you learnt to do with a new system in such a short time,.
RăspundețiȘtergereHi
RăspundețiȘtergereI feel surprised to your bird photo, especially the bird not in the flight, which show significant details
As you wrote in the paragraph, you think the focus point is too big to use.
How's the focus performance at this condition only for C-AF SINGLE POINT?
The bird pictures not in the flight are all details, but I want to know the percentage of successful.
Because I had bought the same Olympus equipment, I felt awful
The focus is hard too keep focus the bird's eye as the Nikon precisely did, even I used the C-AF SINGLE POINT
About 1/50 pictures will success to exactly focus, but I felt bad about that percentage
Thanks for the review, it puts into perspective what this system can do (and what cannot do for the time being).
RăspundețiȘtergereMy eyes are burning of so much beauty! You are a magician! Thank you!
RăspundețiȘtergereI am extremely motivated with this weblog. This shows it actually does not have any dietary cost and devouring it essentially influences your body to go through put away supplements to technique it. last time I visit compose my exposition this site additionally great Honey on the other hand has numerous write my essay
RăspundețiȘtergereLife as a photographer stands fulfilled if I cover such wide ranges of photography ever. Besg example of Olympus ever.
RăspundețiȘtergereAmazing work. It was a pleasure and detailed learning reading this
RăspundețiȘtergere